Ready to whip up a fun treat? Fruity Pebbles Treats are colorful, chewy, and super easy to make! This guide will walk you through every step, from gathering ingredients to serving up deliciousness. Whether you’re baking with kids or indulging your sweet tooth, these treats will brighten your day. Let’s dive into this simple recipe that’s bursting with flavor and joy!
Why I Love This Recipe
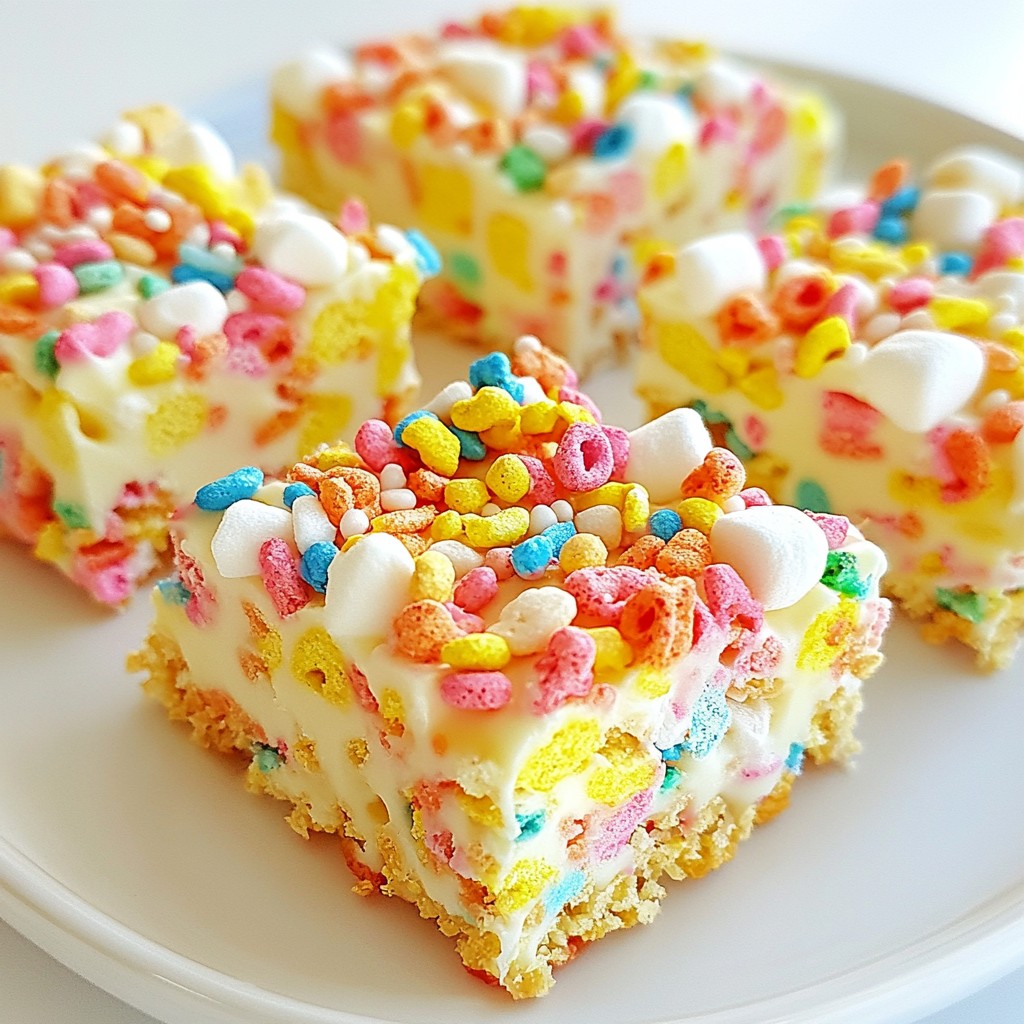
- Fun and Colorful: These Fruity Pebbles Dream Bars are not only delicious but also visually stunning, making them a hit for parties and gatherings.
- Quick to Make: This recipe can be prepared in just 10 minutes, perfect for when you need a sweet treat in a hurry.
- Customizable: You can easily add your favorite mix-ins, like nuts or different types of chocolate, to make these bars your own.
- Kid-Friendly: With its bright colors and fun flavors, this recipe is sure to be loved by kids and adults alike!
Ingredients
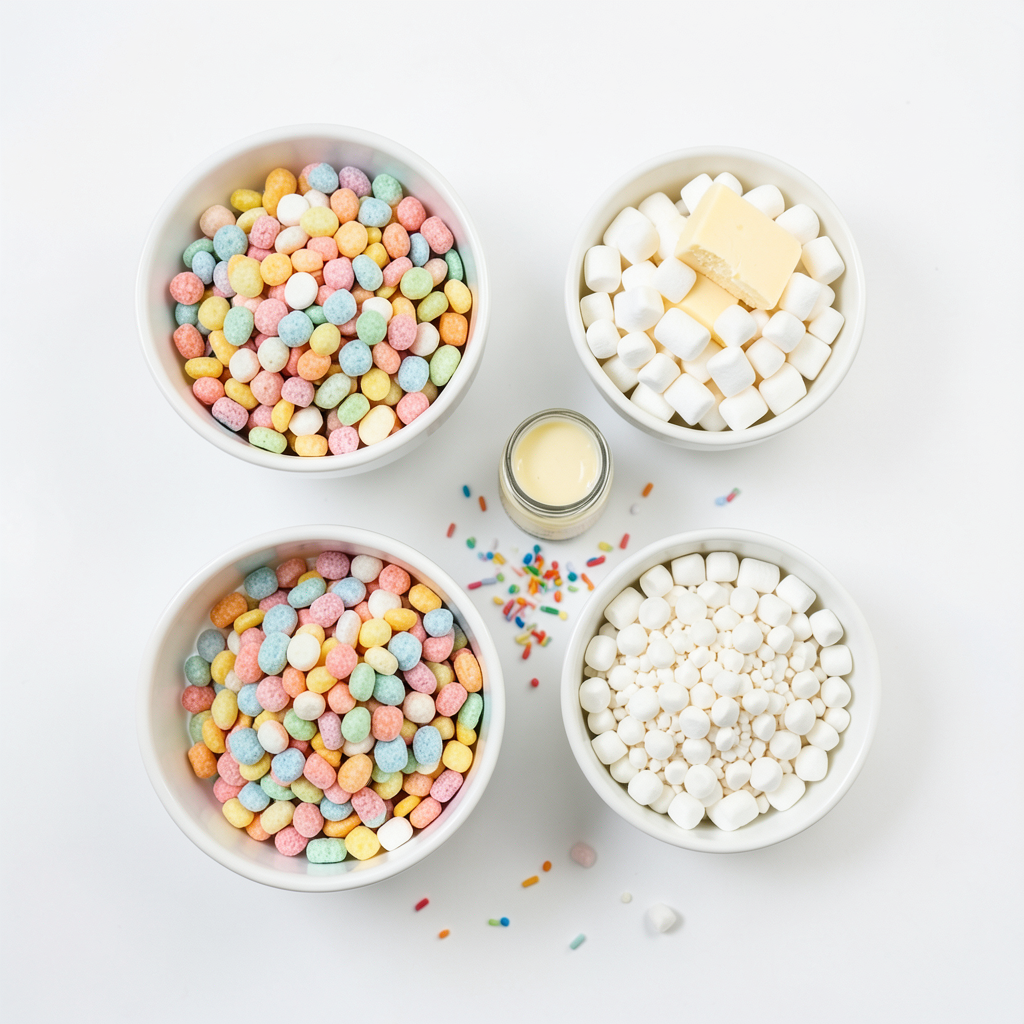
To make tasty Fruity Pebbles Treats, gather these simple ingredients:
- 4 cups Fruity Pebbles cereal
- 3 cups mini marshmallows
- 1/4 cup butter (plus extra for greasing)
- 1/2 teaspoon vanilla extract
- 1/2 cup white chocolate chips
- Sprinkles (for garnish)
These ingredients work together to create a fun, colorful treat that everyone loves. Fruity Pebbles give a sweet crunch. Mini marshmallows add gooeyness, and white chocolate chips bring extra sweetness. Butter helps everything stick and taste great. Don't forget the sprinkles for a festive touch!
Feel free to swap ingredients. You can use different cereals or chocolates. Just keep the same ratios to ensure the best texture. Enjoy the process and get ready for some delicious treats!
Step-by-Step Instructions
Preparation of the Baking Pan
First, you need a clean 9x9-inch baking pan. Lightly grease it with butter. You can also use parchment paper. This helps the treats come out easily later.
Melting the Marshmallows
Grab a large saucepan and place it on low heat. Add the butter to the pan and let it melt. Once the butter is melted, pour in the mini marshmallows. Stir them constantly until they turn smooth and creamy. This takes just a few minutes. Remove the pan from heat.
Mixing Ingredients
Next, add 1/2 teaspoon of vanilla extract to the melted marshmallow mix. Now, carefully fold in the 4 cups of Fruity Pebbles. Make sure each piece is covered in the gooey marshmallow. This is where the fun colors start to show! Then, gently mix in 1/2 cup of white chocolate chips. This adds a nice sweetness.
Pressing the Mixture
Pour the mixture into your greased pan. Use a spatula or your hands, which you can butter lightly, to spread it out. Press it down firmly in the corners. This helps the treats hold their shape.
Cooling and Serving
Let the mixture cool at room temperature for about 30 minutes. If you want to speed things up, you can put it in the fridge. Once cool, cut the treats into squares or bars. For a fun touch, add some sprinkles on top before serving. Enjoy your colorful, tasty Fruity Pebbles Treats!
Tips & Tricks
Perfecting Texture
To make the best Fruity Pebbles treats, focus on the texture. You want them gooey and chewy. Here are some tips to help:
- Use fresh marshmallows: Old marshmallows can be hard and won't melt well.
- Don't overheat: Melt the marshmallows on low heat. This keeps them soft.
- Press firmly: When you put the mixture in the pan, press it down firmly. This helps it hold shape.
Variations for Flavor
Want to change it up? Adding flavors can make your treats unique. Here are some ideas:
- Flavor extracts: A few drops of almond or coconut extract can add a nice twist.
- Mix-ins: Try adding nuts, dried fruit, or even mini M&Ms for extra fun.
- Different cereals: Swap out some Fruity Pebbles for another cereal to create new flavors.
Cleaning Up
Sticky pans can be a pain. Here are some easy ways to clean up:
- Use butter: Grease your pan well with butter to help the treats release easily.
- Soak the pan: If the mixture sticks, fill the pan with warm water and let it soak for a bit.
- Use parchment paper: Line your pan with parchment paper for easy removal and easy cleaning.
Pro Tips
- Use Fresh Ingredients: Always check the expiration dates on your marshmallows and other ingredients to ensure the best taste and texture.
- Butter Your Hands: When pressing the mixture into the pan, lightly butter your hands to prevent sticking and make it easier to spread.
- Experiment with Mix-ins: Feel free to add other fun mix-ins like chopped nuts or chocolate chips to customize your bars.
- Storage Tips: Store the bars in an airtight container at room temperature to maintain their chewy texture for up to a week.
Variations
Fruity Pebbles Bars
To make thicker bars, use a smaller pan. A 9x9-inch pan gives you nice, thin bars. For thicker ones, try an 8x8-inch pan. This change gives you a denser, chewy treat. Just press the mixture down firmly in the smaller pan. Let it set as usual. The bars will take a bit longer to cool, so be patient!
Fruity Pebbles Cookies
You can turn your Fruity Pebbles treats into cookies! To do this, follow these steps:
1. Preheat your oven to 350°F (175°C).
2. In a bowl, mix 2 cups of Fruity Pebbles with 1 cup of cookie dough.
3. Add in 1/2 cup of white chocolate chips and 1/2 cup of mini marshmallows.
4. Scoop tablespoon-sized balls of dough onto a lined baking sheet.
5. Bake for 10-12 minutes until the edges are golden.
These cookies will be soft and fun, with a crunchy surprise!
Seasonal Variations
You can change your Fruity Pebbles treats for holidays. For Halloween, add orange and black sprinkles. For Christmas, use red and green sprinkles. You might also mix in candy canes for a minty twist. For birthdays, use colorful sprinkles that match your theme. Each season brings new chances to have fun with flavors and colors!
Storage Info
Best Storage Practices
To keep your Fruity Pebbles treats fresh, store them in an airtight container. This helps prevent them from getting stale. Make sure the container is clean and dry before adding the treats. Place a piece of parchment paper between layers if you stack them. This keeps them from sticking together.
Freezing the Treats
You can freeze these treats for later. Cut them into squares first, then wrap them tightly in plastic wrap. Place them in a freezer bag or container. To thaw, take them out and leave them at room temperature for about an hour. They will taste just as good as fresh!
Shelf Life
At room temperature, Fruity Pebbles treats last about 3 to 5 days. If you store them in the fridge, they can last up to a week. Just remember to keep them in that airtight container. This keeps them fresh and tasty for everyone to enjoy!
FAQs
Can I use other cereals?
Yes, you can use other cereals. Options like Rice Krispies or Cap’n Crunch work well. You can mix them too! Just keep the measurements the same. This adds new flavors and textures.
What can I use instead of white chocolate chips?
If you don’t have white chocolate chips, try using peanut butter chips or butterscotch chips. You can also use dark chocolate chips for a different taste. Just make sure they melt well and mix nicely.
How do I make them gluten-free?
To make these treats gluten-free, use gluten-free Fruity Pebbles. Check the label on all other ingredients. Make sure your butter and vanilla extract are gluten-free too. This way, everyone can enjoy the treats!
This blog post covered how to make fun Fruity Pebbles treats. I shared the key ingredients and step-by-step steps to create them. You learned tips for texture, variations, and best storage practices.
These treats are quick to make and perfect for any occasion. I hope you enjoy making and sharing them!