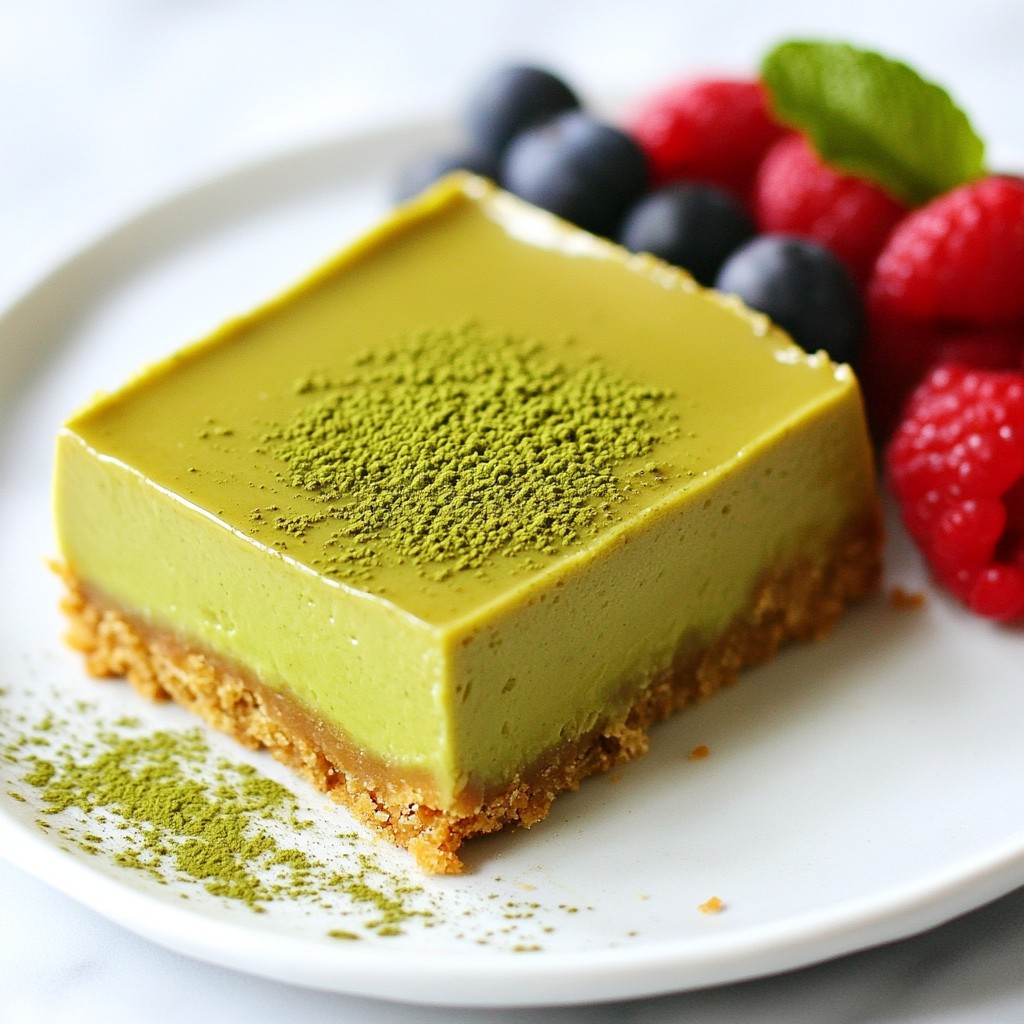
Get ready to satisfy your sweet tooth with my simple and tasty Key Lime Pie Bars! These bars mix the tart taste of key limes with a creamy filling, all on a crunchy crust. I’ll share everything you need, from the key ingredients to step-by-step instructions. You’ll also find helpful tips, tasty variations, and FAQ answers. Let's make this delicious treat together!
Why I Love This Recipe
- Refreshing Flavor: The bright and tangy taste of key lime is perfect for a summer dessert, making each bite feel like a tropical getaway.
- Easy to Make: With simple ingredients and straightforward steps, even novice bakers can whip up this delightful treat in no time.
- Perfectly Portable: These bars are easy to cut and serve, making them an ideal dessert for picnics, potlucks, or parties.
- Customizable Toppings: Add whipped cream or fresh lime wedges to take the presentation and flavor to the next level, allowing for personal touches!
Ingredients
Key Ingredients List
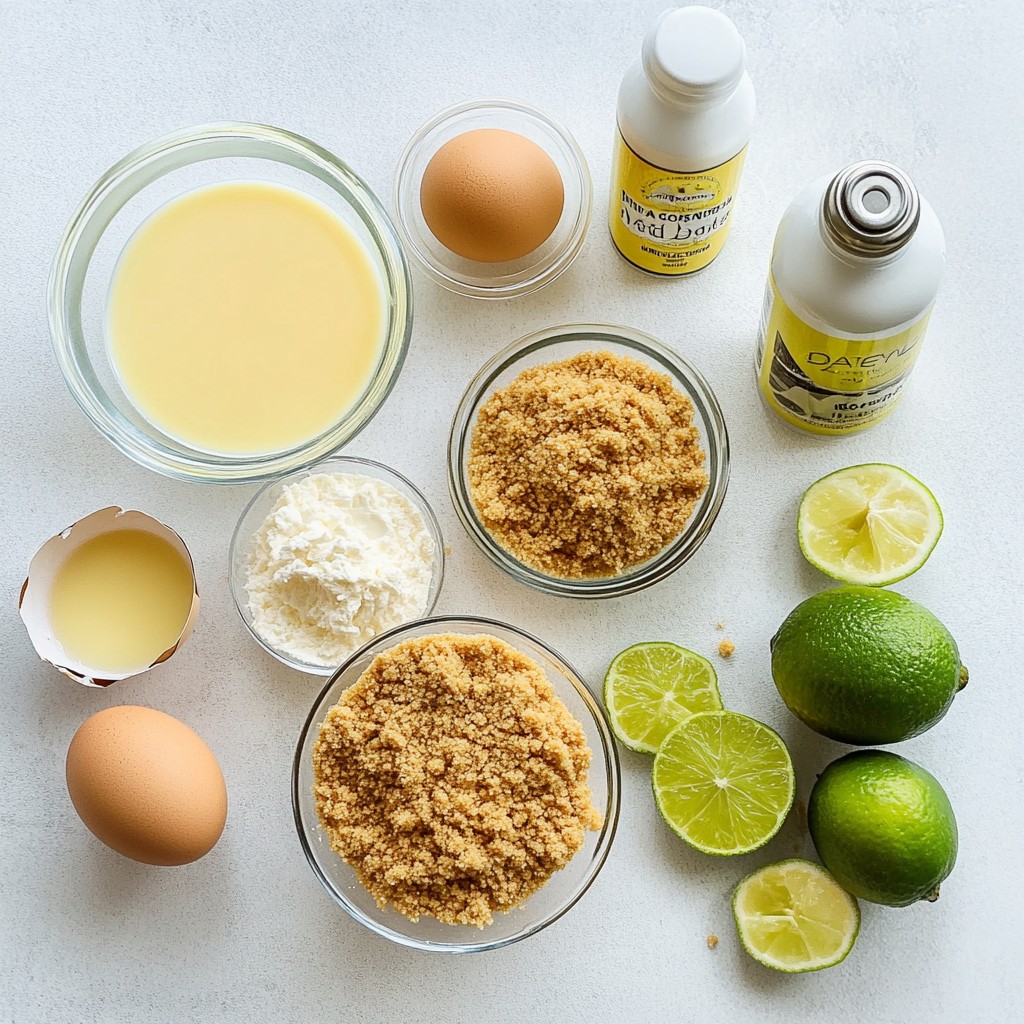
For these tasty key lime pie bars, you need:
- 1 cup graham cracker crumbs
- 1/4 cup granulated sugar
- 1/2 cup unsalted butter, melted
- 2 large egg yolks
- 1 can (14 ounces) sweetened condensed milk
- 1/2 cup fresh key lime juice (or regular lime juice)
- Zest of 2 key limes
- 1/2 teaspoon pure vanilla extract
These ingredients come together to create a bright and zesty dessert. The graham crackers give a crunchy base, while the key lime juice offers a refreshing tartness.
Optional Garnishes
To make your bars extra special, consider these garnishes:
- Whipped cream, for serving
- Extra lime wedges for garnish
Using whipped cream adds a creamy touch. Lime wedges not only look pretty but also let your guests enjoy even more lime flavor.
Nutritional Information
Each bar provides a delicious balance of flavors. Here’s a rough idea of the nutrition per serving:
- Calories: 200
- Total Fat: 10g
- Saturated Fat: 6g
- Cholesterol: 50mg
- Sodium: 150mg
- Total Carbohydrates: 25g
- Dietary Fiber: 1g
- Sugars: 12g
- Protein: 2g
This information helps you keep track of your treats. Remember, moderation is key to enjoying dessert!
Step-by-Step Instructions
Prepping the Crust
To start, preheat your oven to 350°F (175°C). Take a 9x9 inch pan. Lightly grease it or line it with parchment paper. This helps with easy removal later. In a bowl, mix 1 cup of graham cracker crumbs and 1/4 cup of granulated sugar. Pour in 1/2 cup of melted unsalted butter. Stir until the mix looks like wet sand. Press this mixture evenly into the bottom of your pan. Bake for 8-10 minutes. The crust should turn lightly golden. Once it's done, take it out and let it cool a bit.
Making the Key Lime Filling
In a clean bowl, whisk together 2 large egg yolks and 1 can of sweetened condensed milk. Make sure they blend well. Next, add 1/2 cup of fresh key lime juice, the zest from 2 key limes, and 1/2 teaspoon of pure vanilla extract. Whisk this mixture until it is smooth and well combined. This filling gives your bars their tangy flavor.
Baking and Cooling
Now, pour the key lime mixture over the cooled crust. Spread it out evenly. Bake it again for 15-20 minutes. The filling should be set, and the edges will puff slightly. After baking, let it cool at room temperature. Then, place it in the fridge for at least 2 hours. This helps to firm up the bars. When you are ready, cut them into squares. You can top them with whipped cream and add a slice of lime for a fun garnish. Enjoy your tasty treat!
Tips & Tricks
Perfecting the Crust Texture
To make the crust perfect, use fresh graham cracker crumbs. They should feel like wet sand when mixed with sugar and melted butter. Press the mixture firmly into the pan for a sturdy base. Bake until it is lightly golden. This step is key for a crisp texture.
Achieving the Right Balance of Tartness
Key lime juice gives your bars a bright flavor. Use fresh juice for the best taste. If you prefer less tartness, mix in a little extra sweetened condensed milk. The lime zest adds extra depth. Taste the filling before baking to ensure it is just right.
Serving Suggestions
Cut the bars into even squares after chilling. Top with a dollop of whipped cream for a creamy touch. A slice of lime on the side makes it look pretty. These bars are great for parties or a simple dessert. Enjoy them cold for a refreshing treat!
Pro Tips
- Use Fresh Key Limes: Fresh key limes give the best flavor, but if they're not available, regular limes will work too.
- Let It Chill: Allowing the bars to chill for at least 2 hours helps them set properly and enhances the flavor.
- Adjust Sweetness: Taste the filling before baking; you can adjust the sweetness by adding more or less condensed milk to your liking.
- Perfect Whipped Cream: For a special touch, whip the cream with a bit of lime zest and sugar for a tangy topping.
Variations
Different Citrus Options
You can mix things up by changing the citrus. Use lemon or orange juice instead of lime juice. Lemon adds a bright taste, while orange gives a sweet flavor. You can also blend different citrus juices for a unique twist. Just keep the same amount of juice in the recipe. The zest from lemons or oranges also adds a nice touch. Experiment and find your favorite citrus combo!
Gluten-Free Crust Ideas
If you need a gluten-free crust, use almond flour or gluten-free graham crackers. Both options work well and keep the taste great. Mix the chosen base with melted butter and sugar, just like with regular graham crackers. Press it into the pan and bake as directed. You’ll get a tasty crust that fits your diet needs without losing flavor.
No-Bake Key Lime Pie Bars
For a no-bake version, skip the oven entirely. Start with the crust by mixing graham cracker crumbs, sugar, and melted butter. Press it into the pan as usual. Then, for the filling, mix sweetened condensed milk and key lime juice in a bowl. Pour it over the crust. Chill in the fridge for at least 4 hours until it sets. This version is perfect for hot days when you don’t want to use the oven!
Storage Info
Proper Storage Methods
To keep your Key Lime Pie Bars fresh, store them in the fridge. Use an airtight container for best results. You can also cover the dish tightly with plastic wrap. This helps keep moisture in and prevents them from drying out. Make sure they cool completely before storing.
How Long Do They Last?
When stored properly, Key Lime Pie Bars last about five days in the fridge. After that, they may lose their fresh taste and texture. If you want to enjoy them longer, consider freezing them.
Freezing Key Lime Pie Bars
Freezing is a great option for long-term storage. First, cut the bars into squares. Then, wrap each square in plastic wrap. Place the wrapped bars in a freezer bag or container. They can last up to three months in the freezer. When ready to eat, thaw them in the fridge overnight. This keeps them tasting fresh and delicious!
FAQs
Can I use regular lime juice instead of key lime juice?
Yes, you can use regular lime juice. It will still taste good. However, key limes give a special flavor. They are smaller and more tart than regular limes. If you want the classic taste, use key lime juice. For a more common taste, regular lime juice works just fine.
What can I substitute for sweetened condensed milk?
If you need a substitute, you can use evaporated milk mixed with sugar. For each cup of sweetened condensed milk, mix 1 cup of evaporated milk with 1 1/4 cups of sugar. You can also try coconut milk. It adds a nice flavor, too. This way, you can still enjoy a creamy filling without sweetened condensed milk.
How do I know when key lime pie bars are done baking?
You can tell they are done when the edges puff up a bit. The center should still be slightly jiggly. It will firm up as it cools. If you see a light golden color on the edges, that's a good sign. Always let them cool before cutting. This helps them set properly.
This blog post covered all you need to make great key lime pie bars. We explored key ingredients and optional garnishes that enhance flavor. I shared step-by-step instructions for the crust and filling. My tips help you get the best texture and tartness. You also learned fun variations and smart storage tips to keep your pie fresh.
Now you are ready to create your own delicious treat. Enjoy sharing your key lime pie bars with friends and family!